Leaderboard
-

Supervisor
Glod Menbie5Points13Posts -
Goodly
Moderator5Points652Posts -
.jpg.3cb1b319c1cf889f969f3590b597cb67.jpg)
KawaiiCube
Glodden Godd4Points188Posts -
koy
Member4Points167Posts


Popular Content
Showing content with the highest reputation since 05/15/26 in all areas
-
3 points
-
2 pointsIt's no surprise already of all the amazing projects already made on ClassiCube. Whether it be the insane port of the Super Mario 64 movement or the Survival plugin which the community has been begging about for a while now, or even fun mini games such as Zombie Survival and Lava run. ClassiCube has already proven that it can be used as a basic game engine. Now what if someone were to port DooM or Quake to Classicube, possibly as a multiplayer deathmatch arena, single player campaign, or hecc maybe even both! This to me is a very interesting concept and I love seen other game engines being used to make totally new games. If anything I might personally take a look into making something similar. Though I believe the most difficult part would be copying the fast-paced movement from quake and possibly even the health + shield system. I would also want to optimize the project to be able to run well on most if not all platforms that ClassiCube has been ported to, as well as having features which make it easier for console players to play while not giving them too much power. Thus, balancing the gameplay. What do you guys think about this idea? If someone wants to help develop this, I can help with making the textures! (And if Im correct, i'm pretty sure ClassiCube already supports Quake 3 models.)2 points
-
2 points
-
2 pointsThis project is just a literal iframe embed of classic.minecraft.net with a hardcoded multiplayer link. I doubt there will be anything of value that you couldn't already get from the original source.2 points
-
2 points
-
2 points
-
2 points
-
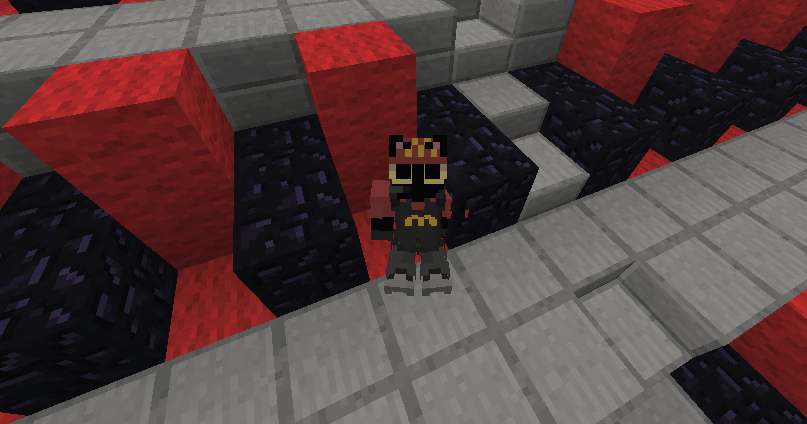
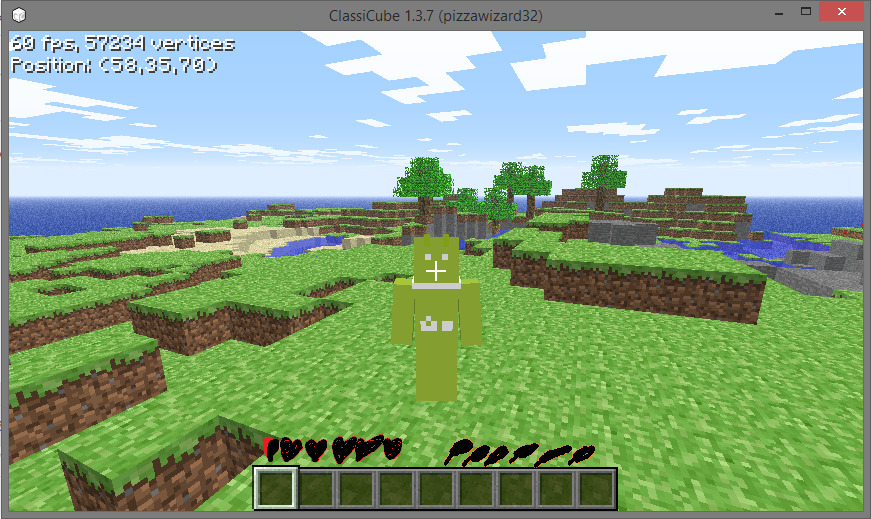
I did a little photo editing and dark magic, and I was just able to cheat the system, by replacing my skin with my desired avatar then disabling the sync feature so it locks!2 points
-
1 pointHere it is, The finished server texture pack Here's the link https://www.dropbox.com/scl/fi/uxfdao8mrb8td3cn7lupk/defaultBetter.zip?rlkey=011wnaptj7dmi005si5byfimp&st=km5ikdjl&dl=01 point
-
1 pointDo you need a keyboard for this?1 point
-
If you guess it right, you win. Post your guesses in the comments below.1 point
-
It starts from 2. 1 and 10000 are not included, since it's between 1 and 10000.1 point
-
1 point
-
Please provide the source code on a more trusted website (such as github) that users can compile themselves. Prebuilt binaries are not allowed.1 point
-
i was messing around in the settings and i changed it to idk what its name is but here it is and in-game its normal
 1 point
 -
SeatifySeatify is a seating plugin for MCGalaxy that lets players create and manage seats around the world. Originally started as a simple sitting system, but later expanded with extra tools like cuboid seat creation, ownership protection, nearby seat lookup, teleporting, bulk removal, preview overlays, and admin utilities. FeaturesSeat placement at player position Click-to-place mode Cuboid seat creation/removal Seat ownership system Admin override support Seat information lookup Teleport to seats Nearby seat search Seat preview overlay Freeze/protection system Bulk seat management commands Commands/seat add /seat add click /seat add cuboid /seat remove /seat remove click /seat remove cuboid /seat info /seat tp <index> /seatnear <radius> /myseats <page> /listseats [level|all] /seatfreeze <level> /seatstats /seatview /clearallseats confirm (to view more, on github readme.md)GitHubhttps://github.com/CutieQueenXZ/Seatify Releaseshttps://github.com/CutieQueenXZ/Seatify/releases made in home because i was bored and wanted chairs
 1 point
 -
It's a great idea on it's own, but I took a look through the GitHub repo you provided to the project, and it looked like at least some of the code was written by a generative AI. Sorry, but I won't support the project right now.1 point
-
Every server is welcoming to all crowds and excluding one demographic isn’t in any plans for the future. Anyone is welcome to spin up a server and cater even more to a certain crowd if they want as well. It’s moreover that the player base is primarily English at the end of the day1 point
-
If I had to guess, the number you are currently thinking about is between 1-10000.1 point
-
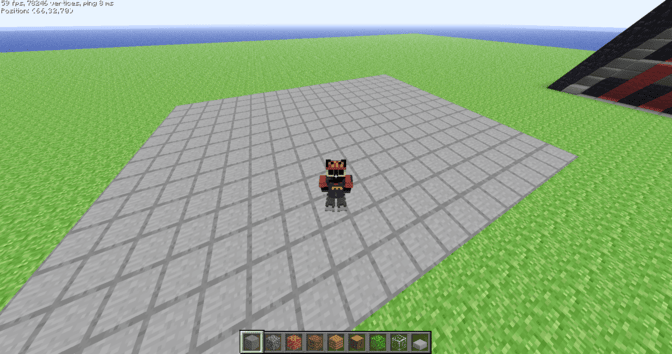
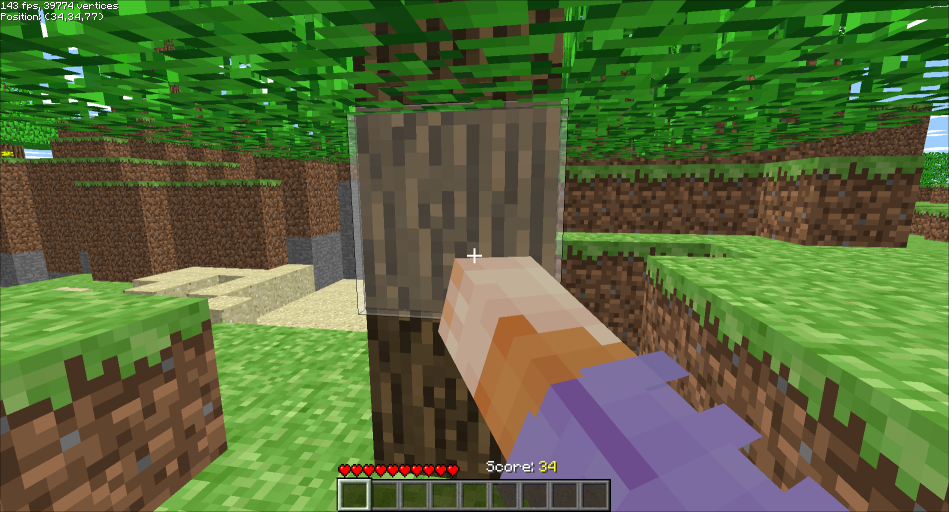
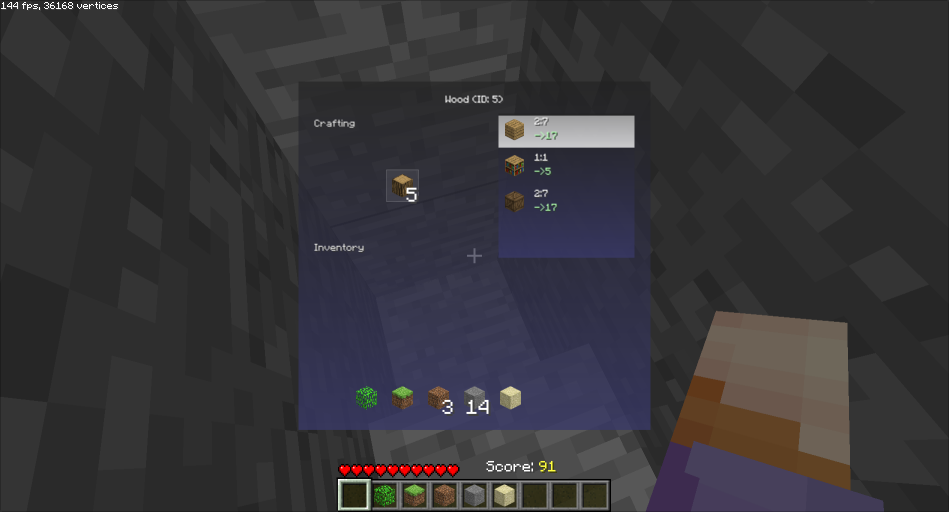
1 pointI've already shared this around on NA² discord and such, but thought this would be an appropriate post to mark off my return to the forums, as well as to show those of you who are unaware... Survival in ClassiCube is real now... Generally based on survival test c0.28, custom inventory handling and world save storage. I tried to keep it as kosher as possible for usage on servers but there are some edge cases where it can do bad things, like reloading your last save when you shouldn't be able to restore your position (parkour or adventure maps usually...). Servers can easily block it by kicking players with "+survival" in their appnames. You can punch your friends if they have the plugin as well, and death is handled appropriately. GitHubGitHub - xIcee/CC-SurvivalTest: multiplayer compatible Su...multiplayer compatible Survival Test plugin for ClassiCube - xIcee/CC-SurvivalTest
 1 point
 -
1 point
-
https://f.classicube.net/profile/658-sand_block/reputation/ Clicking on the "reputation" box in your profile tells you what your rep is and why you have it1 point
-
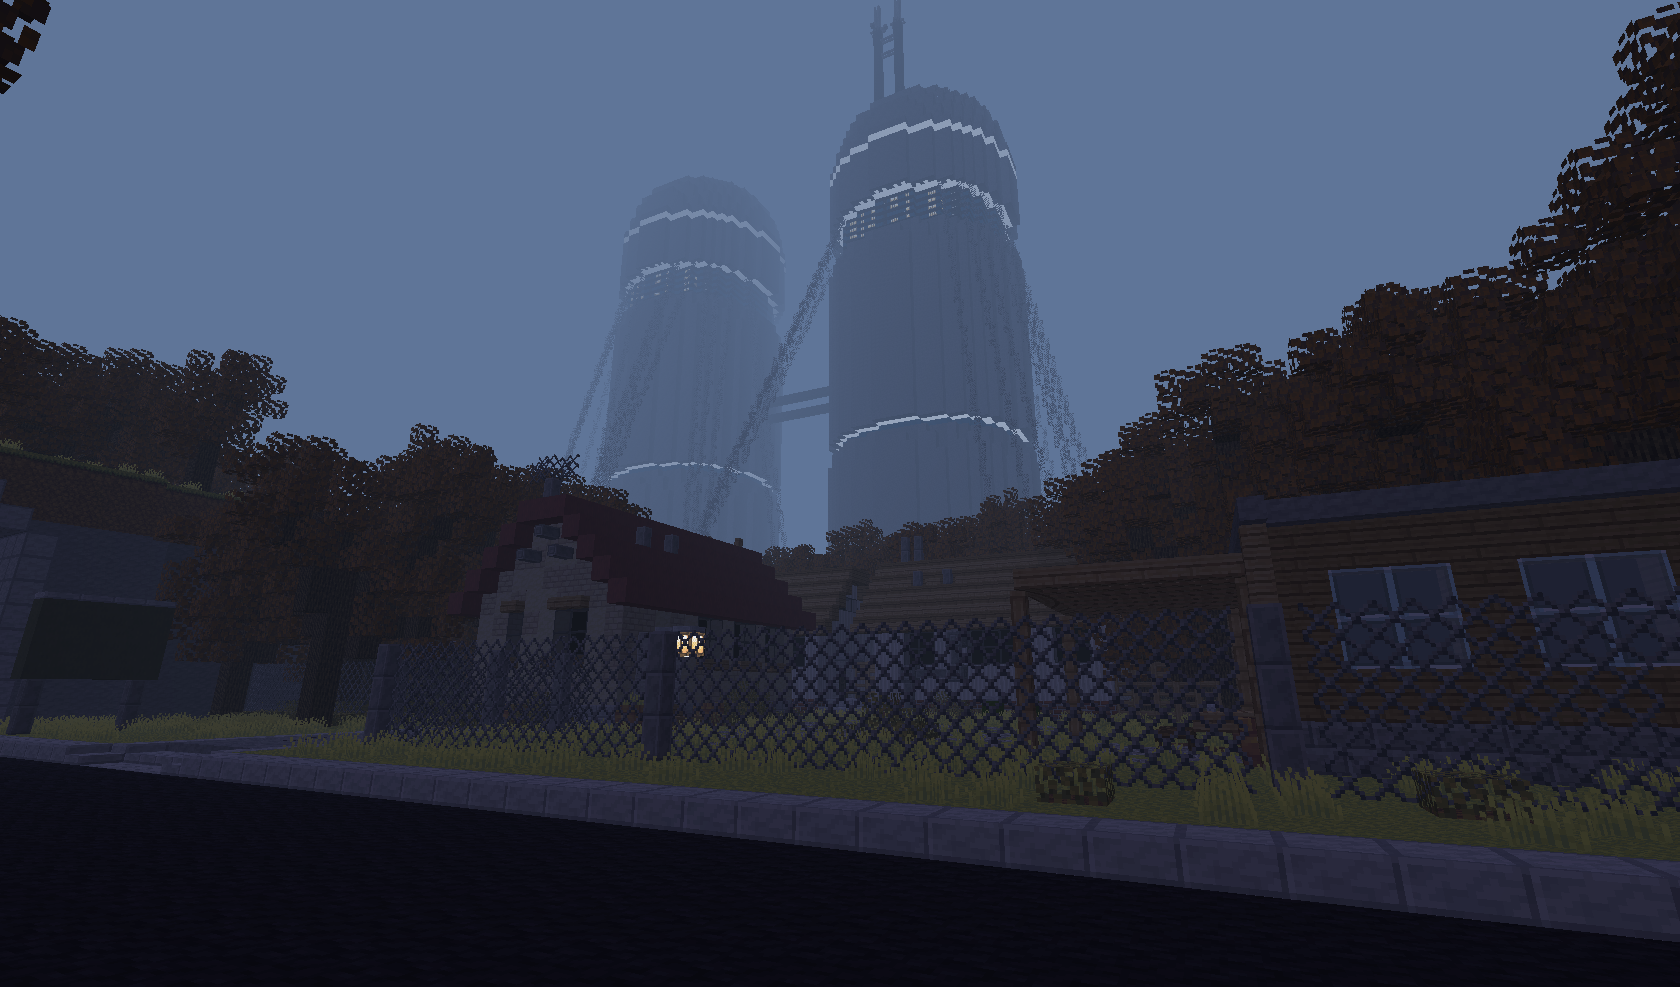
1 pointCool stuff, I remember messing with this last year (made my own shader files and such), but reshade is unfortunately only usable on windows... An actual, real shader pipeline would be cool...1 point
-
1 point
-
1 pointI'm not a good texture pack designer , but I present DigDown ⛏️ The current version is "Alpha 1.0". But I working now in the texture pack. The texture pack makes blocks with textures that haves a not big count of pixels in hers blocks. Download here About the "I'm not a good texture pack designer", it's real. I'm a player that a designer.1 point
-
The server now fully supports the CPE standard. The plugin system is vast and supports almost anything you'd imagine of doing with a classicube server. The barrier for entry in this plugin system aswell is very, very low. Documentation exists in .forgejo/.lua-stubs.lua, explaining all of the api.* functions that are in the Lua VM. It uses (as mentioned) Lua and is suitable even for Roblox luau developers.1 point
-
1 point
-
Still very cool that people can donate to ClassiCube. Because they want to, not because something forces them 🙂1 point
-
ClassiCube was made entirely by volunteers, it has no funding. A rough estimate (using this) says that it would have cost $429,333 if a programmer was hired to do the same amount of work. (UnknownShadow200 has spent around 1932 days of time working on it)1 point
-
A Modern Texture Pack for ClassiCube that also add Custom Blocks! Additions:Map: -Added Wall titles to Wall Torches. -Added an "(item)" over block item forms. -Added bites around names of Cakes. -Added Miku Block. -Added Polished Cobblestone. -Added unique sounds for Meat and Cods items. -Added unique sounds for Tools and Weapons. Changes/Fixes:Texture Pack: -Changed Block of Copper to add tinting for Oxidizing Coppers. Map: -Changed textures for Block of Copper and its oxidizing stages. -Changed Tools and Weapon Models for Wood, Gold, Stone, Iron, and Diamond. -Changed models and name for Block Breaking Stage blocks. -Changed height for Beds from 8 to 9. -Iron Doors now make Metal sounds. -Chicken Eggs now make Wood sounds. -Ender Pearl and Eyes make Glass sounds when broken. -Doors and Beds are now directional. -Fixed name from "Cactus Spike" to "Cactus Spikes". -Changed name from "Bucket of Migu" to "Bucket of Miku". -Fake Cakes now have a metal sound when broken. -Removed -UD positions on some blocks. Downloads:Texture Pack: https://www.mediafire.com/file/unytfox9sj3po3f/New_Textures.zip/file Map: https://www.mediafire.com/file/621p56it0e2787v/Custom_Blocks.cw/file
 1 point
 -
1 pointYou wake up in a dark room. Engulfed in complete blackness. Cold. It's so cold; almost unnatural. Then, suddenly, you hear a disembodied voice, echoing: "one word posts will get you banned."1 point
-
How hypocritical of you. You talked about NSFW topics on my server long ago, and got warned for it.
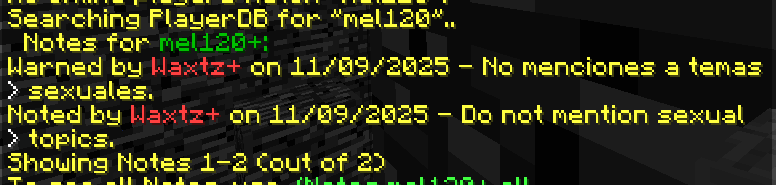 1 point
 -
1 point
-
1 pointyou should add creative mode like why do we only have SURVIVAL mode we need CREATIVE mode i wanna build stuff grrrr also this game so hard make it easier plz im on low hp :((((
 1 point
 -
1 point
-
1 point
-
💷 Partially! I decided to add this sign because it looks better so as not to contradict "Actions & Stuff". Maybe someday I'll change the name, but definitely not today1 point
-
1 point
-
1 pointCurrently client plugins have separate versions for seperate OSes and they aren't on all platforms, but I reccommed to make new client plugins format that will be same on all platforms that supports them. It will allow to add client plugins to more platforms. I think that PC clients should support both new and old client plugin format.1 point
-
We will be working with the assumption that your map is named mylevel. If it's not, replace occurances of "mylevel" with your map's name when following this tutorial. You must have server file access to both servers to accomplish this. In order to fully move mylevel to another server you will need: For blocks and zones, mylevel.lvl file in `levels` For blockdefs (custom blocks), if the level only uses local blocks and does not use any globally defined blocks: lvl_mylevel.json in `blockdefs` if the level only uses global blocks: Clone global.json from `blockdefs` and rename it to lvl_mylevel.json before cloning the file to the other server if the level uses both global and local blocks: use ClassiCube to save the level as temp.cw, import it into a server (/help import), then grab lvl_temp.json and rename it to lvl_mylevel.json before cloning that file to the other server this servers the purpose of combining local and global blocks into one blockdef file For blockprops (slab stacking and etc), _mylevel.txt in `blockprops` For message blocks, 1. Extract the messages from the server database with /server backup table Messagesmylevel 2. Messagesmylevel.sql will now be in the root folder of your server. Bring this file to the root folder in the other server. 3. In the other server, use /server import Messagesmylevel For Portals, Repeat the steps for message blocks, but instead of "Messagesmylevel" use "Portalsmylevel" For bots, extra/bots/mylevel.json For all the remaining level properties (env, settings from /map, etc), mylevel.properties in `levels/level properties`1 point
-
1 pointHeya everyone, this guide will make you learn how to improve your buildings! 1. Basics There are 65 unique blocks in the game, many including stone, etc. To open up your inventory, press "B" on the keyboard, if you are on mobile, you should find three dots on your hotbar, tap on it to open the inventory, here will show you all the blocks you can use. 2. Texture packs There are many Texture packs made by people, which can help you make a design, decorations, etc. These texture packs can be found on servers and websites, if you want to put the texture pack into your Overseer (which can be done by /os map create) Then type /mi env in the world that has a texture pack, and copy the link, go to your Overseer by typing /os go, then type /os map texture (URL), if the texture pack has a .png, it will only copy the terrain texture, if it is a .zip, it will copy the texture pack. If you want to see the terrain, press F10 3. Creating new blocks custom blocks allow you to make new blocks, edit them, and much more! Let's see how to make one. first, you need to type /os lb add, this will ask you questions about what your block name wants to be, etc. To answer any of those questions, say /os lb answer [answer], and if you want to cancel, just simply type /os lb abort, now if you made a mistake you can revert it by doing /os lb revert. Once you have made your block, you have done it! You made a block, however, if you want to edit it at any time, you can do /os lb edit [ID] [property] [value]. 4. Buildings When you are making a build, you can mess it up at any time, and sometimes it would look bad, Here are some tips that can help you improve it! Ideas. Make sure to have an idea for your buildings (e.g a house, hospital, gas station). This might improve your buildings if you have no idea what you are doing. Inspiration. You can get some inspiration from people, and the internet and this will improve your buildings. Patient. I know this might be a little funny, but I'm serious, being patient helps a lot in buildings. And that's it, a simple guide that helps your buildings, if you want a version showcasing everything about Custom blocks, I highly recommend watching Bruceja's building tutorial. You can watch it here at https://www.youtube.com/watch?v=DG9JgmdiJ-k, anyways good luck and have a nice day!!1 point
-
Hello everyone, I have recently made a full in depth custom block guide for ClassiCube. People have asked for it and it's finally here, enjoy: https://www.youtube.com/watch?v=DG9JgmdiJ-k1 point
-
You can set an avatar once your account is 5 years or older.1 point
-
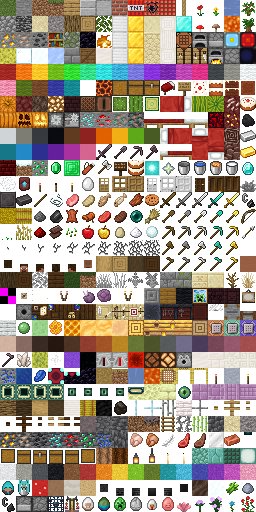
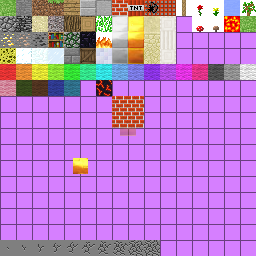
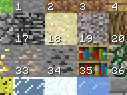
(If you won't add textures skip to step 3) Requirements: - Copy paste knowledge - Acces to classicube files - A program to open .zip files - paint.net or gimp (Don't use Microsoft paint /3D or the transparency will be gone from the entire image) - A classicube server with /gb or /lb and textures (in my case I use MCGalaxy) Step 1: Creating the texture First, you need to get the textures to be able to modify them. Go to the folder where all your classicube files are. There try to find a folder named: In there is a file named: Copy the file and paste it into your desktop or anywhere else that is not in the classicube files. Open with the program you use to open .zip file. There, try to find and extract the file from . Open and start editing. To create a new texture replace with the texture/textures you will add (If you will add an animation read to understand how to add animations work) After adding the texture save the changes and takeagain inside in and upload to google drive or anything else Step 2: Enable the textures Go to you server's files In your server's files go to and in the folder find Open the file and find: Set the url with the url of the place you uploaded Start the server and join your server Step 3: Block creation The server will ask you if you want to use their textures. If not, press F10 to check if the textures are enabled To add the block in a specific level use /lb. To add the block in the entire the server use /gb then use /gb add then /gb (name of the block) then /gb 0 if it is a solid block like stone or type /gb 1 if its a sprite like flowers It will ask for textures of the block. To know wich texture is wich press F10. Each one has its own texture id EXAMPLE: The bedrock texture has an ID of 17 The other things /gb will explain to you Reply to this if you need help


 1 point
 -
1 point
-
An addendum on references and their efficacy in a few images: Why you should be using references: Think of building as speaking a language. If you only conversed with yourself you would not learn much, if anything at all. If you engage with other sources and incorporate their vocabulary (in this case, a visual vocabulary) you will have an overall more vibrant and effective means of expressing yourself. This doesn't stop at 1 for 1 replication though, as concepts can be applied in varying contexts beyond what is just in the image you are referencing -- this is the basis of creativity. Applying your vocabulary in different contexts to see what works, often to create something new and original, is an exercise in practicing that creativity. The power of references is ultimately in the fact that they allow you to go beyond your own perspective. If you want to know what a classical Greek temple looks like, it's much more reliable to search for it than to try to recall from your own memory the idea of a Greek temple.1 point
-
sick kickflip numero uno: you can hover over the reaction button in the bottom right to show a list of reactions you can use. negative reactions will take away from the user's points, positive will add, and the more neutral/joke-y reactions don't do anything. epic kickflip dos: you can switch between the default theme and an experimental dark theme at the bottom of every page post more sick kickflips here and maybe i'll add them to the list1 point
-
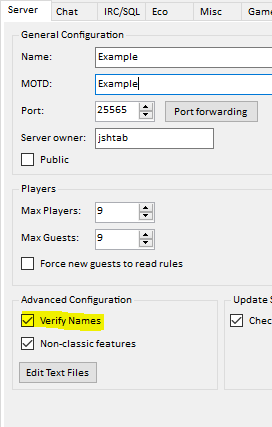
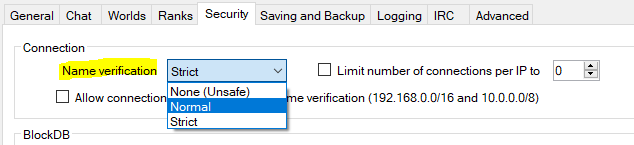
Username Verification is a process used to establish a player's identity on a ClassiCube server, and ensures that the player connecting is who they say they are. When running servers, it is important that you enable this feature, especially when running public servers advertised on the ClassiCube server tracker. Leaving it disabled is a major security risk, and malicious players can: Impersonate you, your administrators, and other players on the server Easily and quickly evade name-based bans Kick other players out of the server (See "Collision Kicking" below) How do I enable Username Verification? Thankfully, on most server software, username verification is enabled by default. But, if you accidentally turned it off and cannot find where the option is located, this section will help you! MCGalaxy In MCGalaxy, the name verification option can be found in Settings > Server in the section "Advanced Configuration" ProCraft In ProCraft, the name verification option can be found in the Security tab in the section "Connection" Collision Kicking Mentioned previously in this post, Collision Kicking occurs when a player with the same name attempts to join a server. On certain servers, joining as someone already connected to the server will result in the player connecting first being removed from the server. With name verification, the player currently logged in will not be kicked, since the connecting player could not be verified. Without name verification, a player can be effectively banned from a server by others by repeatedly reconnecting as them to prevent them from playing on the server. How it works The server tracker employs a simple trick of cryptography in order to prove to the server that the player connecting is who they say they are. When you log into ClassiCube.net, you create a session which allows the game client to make requests on your behalf. During this session, the game client asks ClassiCube.net for a list of servers, which contains the IP to connect to, along with a string of (seemingly) random characters called the "mppass". When connecting to the server, the game client gives the server your username, and this mppass. This allows the server to verify that you are in fact logged into ClassiCube.net What is the mppass? The mppass is actually a MD5 Checksum, a string of letters that is easy to compute given the original text, but (usually) impossible given only the resulting string of characters. The original text of the mppass consists of both the username of the player connecting, and the 'salt' provided by the server to the server tracker. This salt is a random series of characters which is kept as a shared secret between the server and provider, and is never actually given to the client. # Input String (server's salt + your username) kuqL3HHSbOVkzOZRjit983D9Vw5M3zEMjshtab # Resulting mppass8e0aa02498370cc26807df70d795fdcdWhen you request a list of servers from the tracker, the tracker quickly generates the mppass by putting your username at the end of that server's salt and running it through the MD5 algorithm. When you connect, the server does the same with your username and it's own salt. If the two strings match, then you are verified to be logged in to the server tracker, since the only way you could've gotten a valid mppass was through the server tracker.R
 1 point
 -
Although username verification is important for security reasons, you forgot to mention that MCGalaxy has server-side user verification, in the case where you disable account verification, in the form of user-defined passwords. Just thought I'd add that tidbit to your post.1 point
-
1 pointThese are some super important guidelines to follow when making your dirt house tutorial. If your thread is found to be of low enough quality, it will be expunged with extreme prejudice. Perhaps you'll even get a temporary ban, to sate our thirst for bans. Jk we won't ban you (probably). Title Guidelines Your thread's title must describe what the tutorial is about and be about the length of a short sentence. As an example: How to make a dirt house in 3 easy steps! Once you've got the title out of the way, you must make sure to set the tags. It's not super important that you add more than one, but that one is a doozy. It must categorize what the tutorial is for. As an example, if your tutorial pertains to a particular server software, add that server software name to your tags and then set it as your Item prefix. Here's an example: Tutorial Guidelines Make sure your tutorial ticks the following boxes: Has clear, easy-to-follow steps. Descriptive descriptions. Images for clarification A point (no, "how to get OP on my server" is not a good tutorial) Good luck making tutorials!1 point